8 Administer Oracle Machine Learning
Oracle Machine Learning is managed at the system level and at the application level by an administrator.
-
Administrator — Creates, edits, and deletes Oracle Machine Learning user accounts. The Administrator reassigns user workspace.
Note:
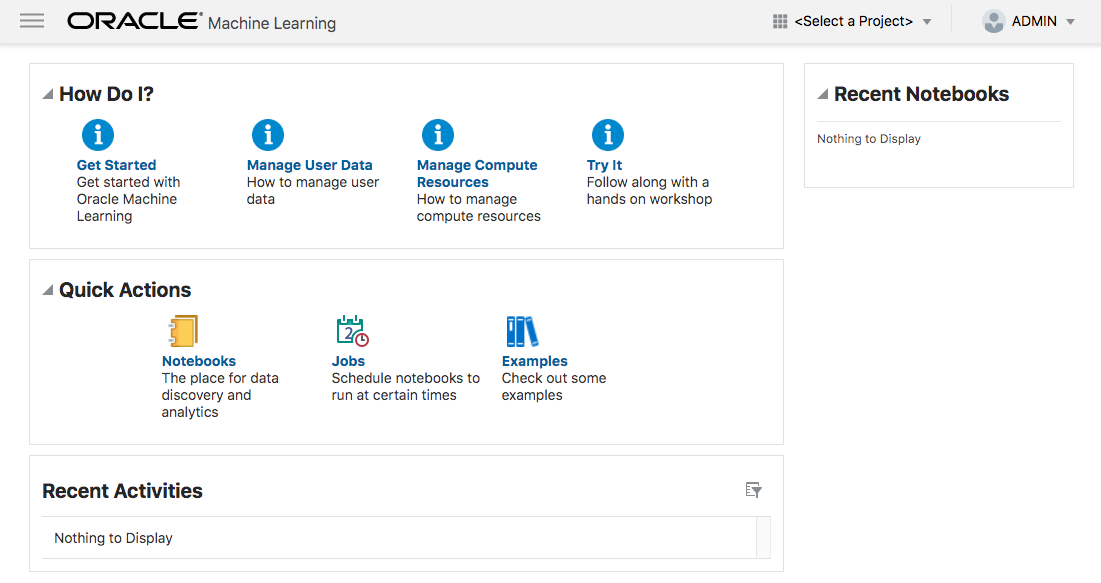
The Administrator is not authorized to run notebooks. The Administrator can only read notebooks.Figure 8-1 Admin Home page

-
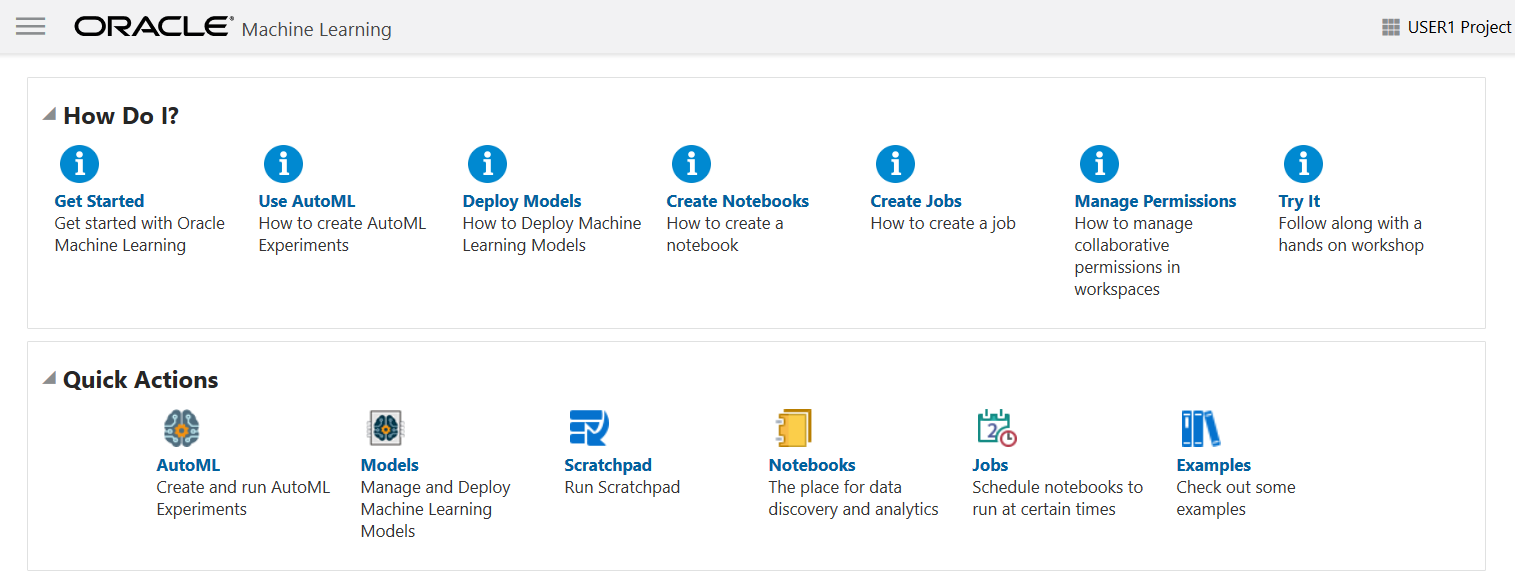
Developer — This is the default user role that allows you to create and run notebooks, run SQL Statements, create SQL scripts, run Python scripts, create jobs to schedule and run notebooks, create and run AutoML experiments, and deploy models.
Figure 8-2 Developer Home page

- Typical Workflow for Managing Oracle Machine Learning
To manage Oracle Machine Learning and other administrative tasks, refer to the tasks listed in the table as a guide. - Manage OML Users
An administrator manages new user account and user credentials creation for Oracle Machine Learning in the User Management interface. - About User Data
In the User Data page in Oracle Machine Learning, you can view existing user data, reassign, and delete it. - About Compute Resource
The term Compute Resource refers to services such as a database, or any other backend service to which an interpreter connects.
Typical Workflow for Managing Oracle Machine Learning
To manage Oracle Machine Learning and other administrative tasks, refer to the tasks listed in the table as a guide.
| Tasks | Oracle Machine Learning Interface | More Information |
|---|---|---|
| User account and password creation | Oracle Machine Learning User Management interface | Create Users for Oracle Machine Learning |
| Connection Groups — View and Reset | Oracle Machine Learning | Work with Connection Groups |
| Compute Resource — View | Oracle Machine Learning | About Compute Resource |
| User Data administration — Delete all users, all user related objects such as workspace, projects, and notebooks, and workspace reassignment | Oracle Machine Learning | About User Data |
Note:
The tasks listed here can be performed by an administrator only.Parent topic: Administer Oracle Machine Learning
Manage OML Users
An administrator manages new user account and user credentials creation for Oracle Machine Learning in the User Management interface.
- Create User
An administrator creates a new user account and user credentials for Oracle Machine Learning in the User Management interface. - Add Existing Database User Account to Oracle Machine Learning
An administrator adds an existing database user account for Oracle Machine Learning in the User Management interface.
Parent topic: Administer Oracle Machine Learning
Create User
An administrator creates a new user account and user credentials for Oracle Machine Learning in the User Management interface.
Note:
You must have the administrator role to access the Oracle Machine Learning User Management interface.To create a user account:
This creates a new database user and grants the required privileges to use Oracle Machine Learning.
Note:
With a new database user, an administrator needs to issue grant commands on the database to grant table access to the new user for the tables associated with the user's Oracle Machine Learning notebooks.Parent topic: Manage OML Users
Add Existing Database User Account to Oracle Machine Learning
An administrator adds an existing database user account for Oracle Machine Learning in the User Management interface.
Note:
You must have the administrator role to access the Oracle Machine Learning User Management interface.To add an existing database user account:
This grants the required privileges to use the Oracle Machine Learning application. In Oracle Machine Learning this user can then access any tables the user has privileges to access in the database.
Parent topic: Manage OML Users
About User Data
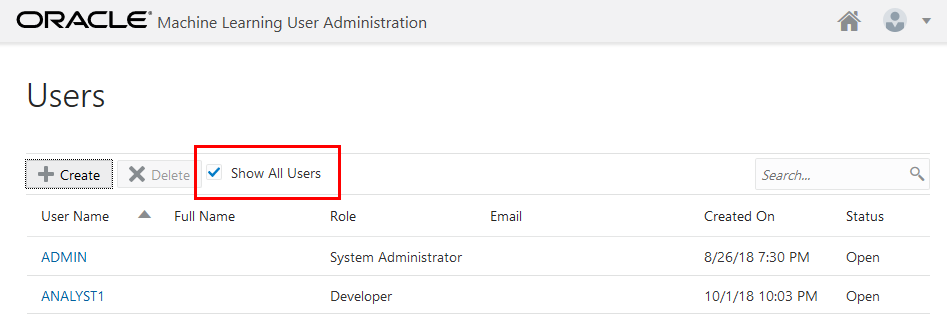
In the User Data page in Oracle Machine Learning, you can view existing user data, reassign, and delete it.
-
Delete User Data: To delete a user, select the user to delete and click Delete User Data.
-
Reassign: To reassign workspace and templates from one user to another.
- Reassign
The Reassign option allows you to reassign workspaces, along with templates, from one user to another.
Parent topic: Administer Oracle Machine Learning
Reassign
The Reassign option allows you to reassign workspaces, along with templates, from one user to another.
Parent topic: About User Data
About Compute Resource
The term Compute Resource refers to services such as a database, or any other backend service to which an interpreter connects.
Note:
You must have the Administrator role to access the Compute Resources page.The Compute Resources page displays the list of compute resources along with the name of each resource, its type, comments, and last updated details. To view details of each Compute Resource, click the Compute Resource name. The connection details are displayed in the Oracle Resources page.
- Oracle Resource
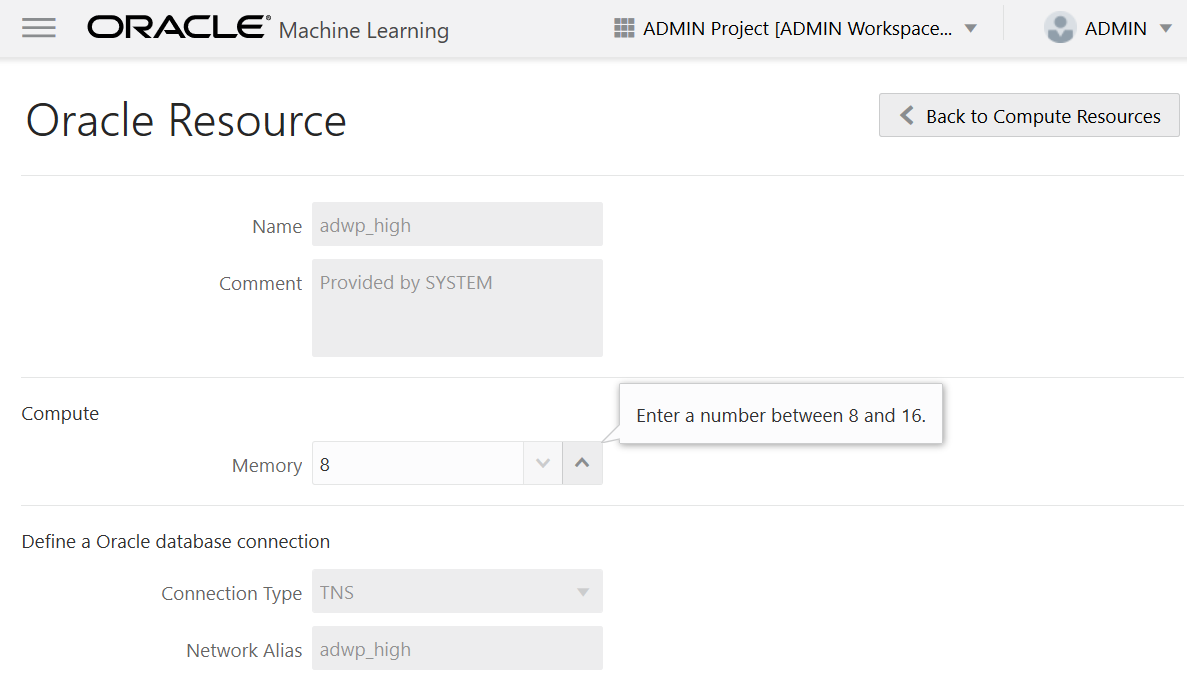
The Oracle Resource page displays the details of the selected compute resource on the Compute Resources page. You can configure the memory settings (in Gigabytes) for the Python interpreter for the selected compute resource.
Parent topic: Administer Oracle Machine Learning
Oracle Resource
The Oracle Resource page displays the details of the selected compute resource on the Compute Resources page. You can configure the memory settings (in Gigabytes) for the Python interpreter for the selected compute resource.
Note:
You must have Administrator privilege to configure the memory settings.- Resource Services and Notebooks
This topic lists the number of notebooks that you can run concurrently per PDB for each Resource service.
Parent topic: About Compute Resource
Resource Services and Notebooks
This topic lists the number of notebooks that you can run concurrently per PDB for each Resource service.
The Resource Services and Number of Notebooks table lists the Compute Resources assigned for running of Python scripts at different Resource Service levels - High, Medium and Low. The High level is assigned the maximum number of Compute Resources to run the Python script, which could result in faster running of the scripts. The Low level is assigned the least number of Resource Services, which results in slower running of the scripts.
Table 8-1 Resource Services and Number of Notebooks
| Resource Service | OCPUs (Oracle CPUs) | Memory | Number of Concurrent Notebooks |
|---|---|---|---|
| High | Up to 8 OCPUs | 8 GB (up to 16 GB) | Up to 3 |
| Medium | Up to 4 (OCPUs) | 4 GB (up to 8 GB) | Up to max (1.25 × number of OCPUs)
Note: The number of current notebook run is calculated by the formula1.25 x (number of OCPUs) provisioned for the corresponding PDB. OCPU stands for Oracle CPU.
For example, if a PDB is provisioned with 4 OCPUs, then the maximum number of notebooks run would be 5 (1.25 x 4) in Medium level. |
| Low | 1 | 2 GB (up to 4 GB) | Up to 100 |
Parent topic: Oracle Resource


